How to use Stenomatic for real-time translation
A quick-start guide
Go to stenomatic.ai/signin and log in with your email and password or create a new account at stenomatic.ai/signup
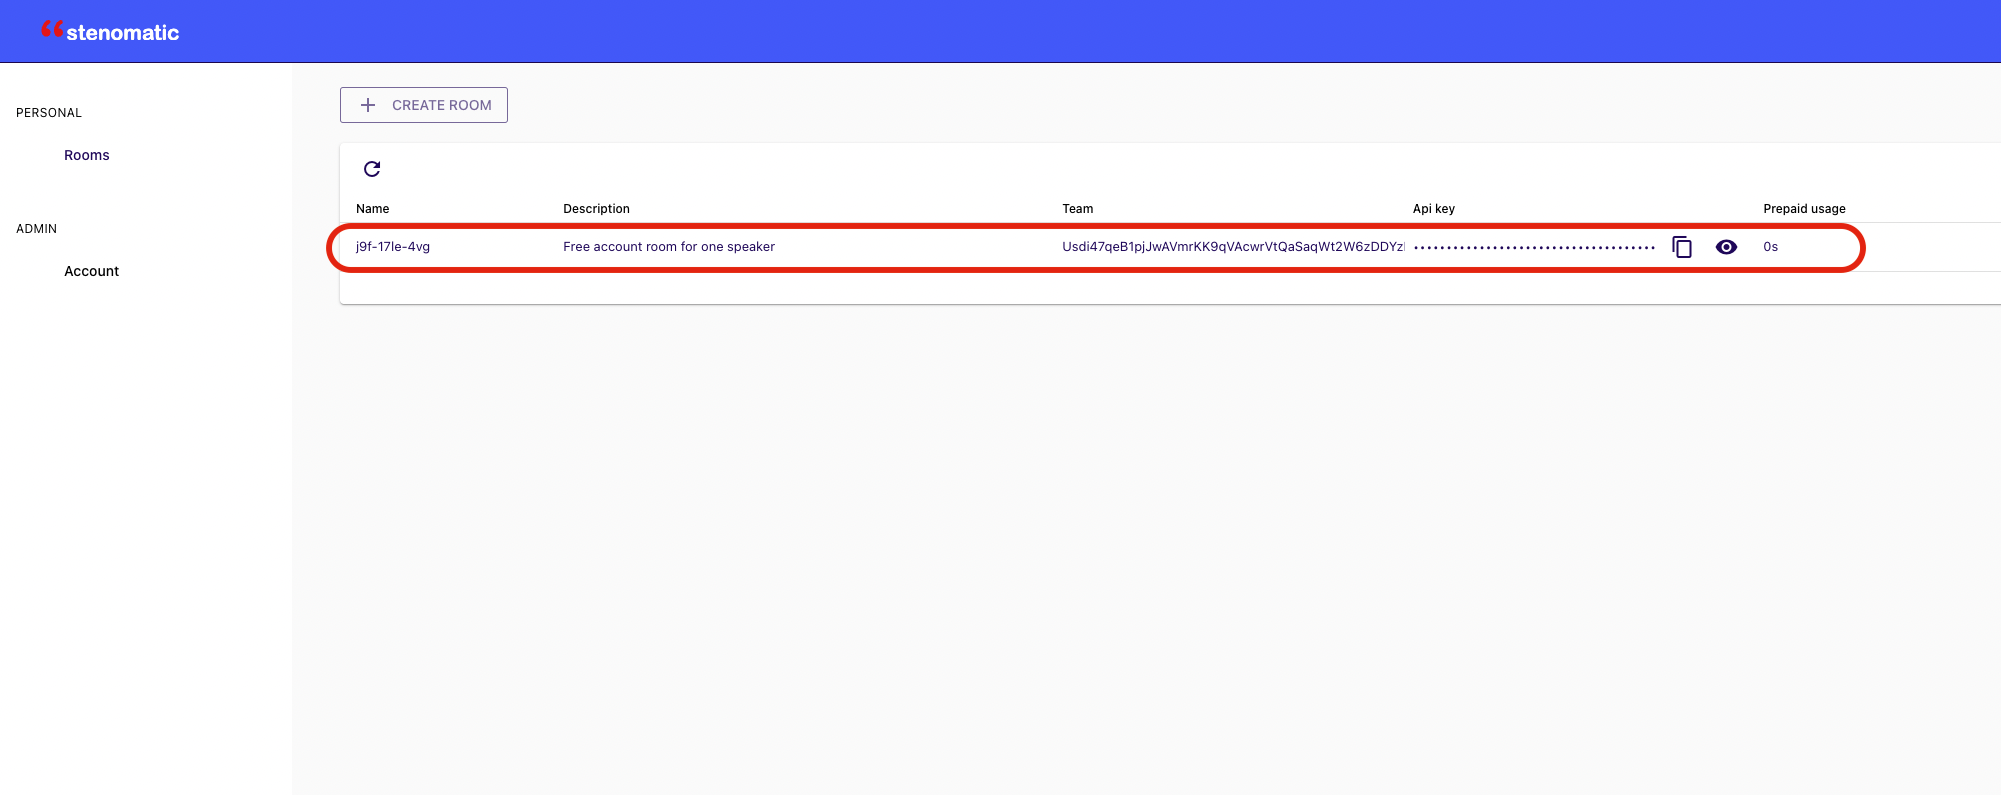
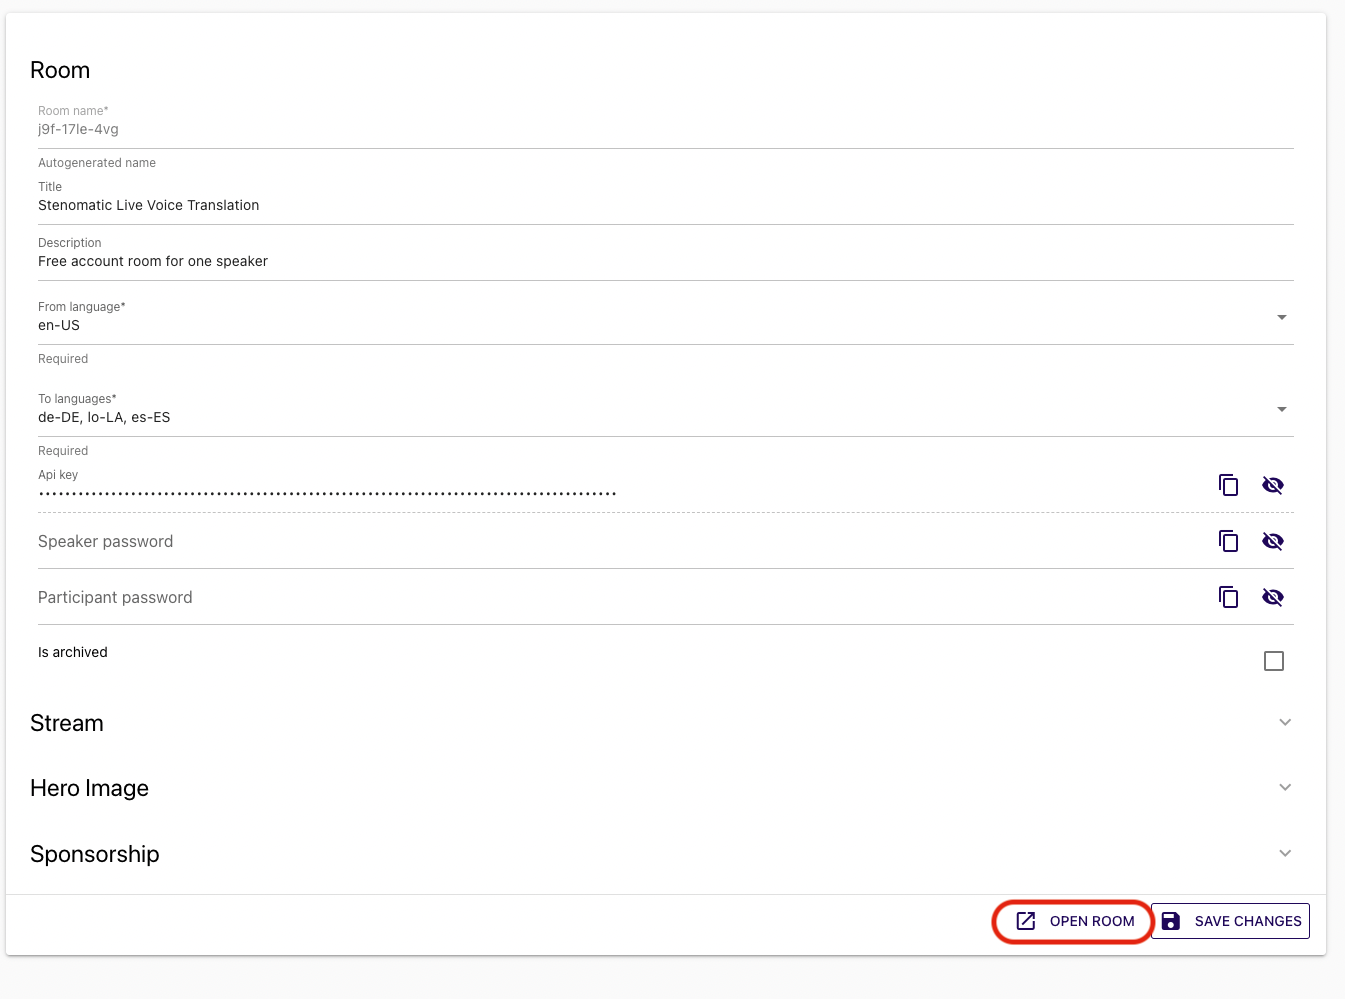
Go to your Stenomatic account and click on a room to access room settings. Every account comes with a unique room and 30 minutes for free!
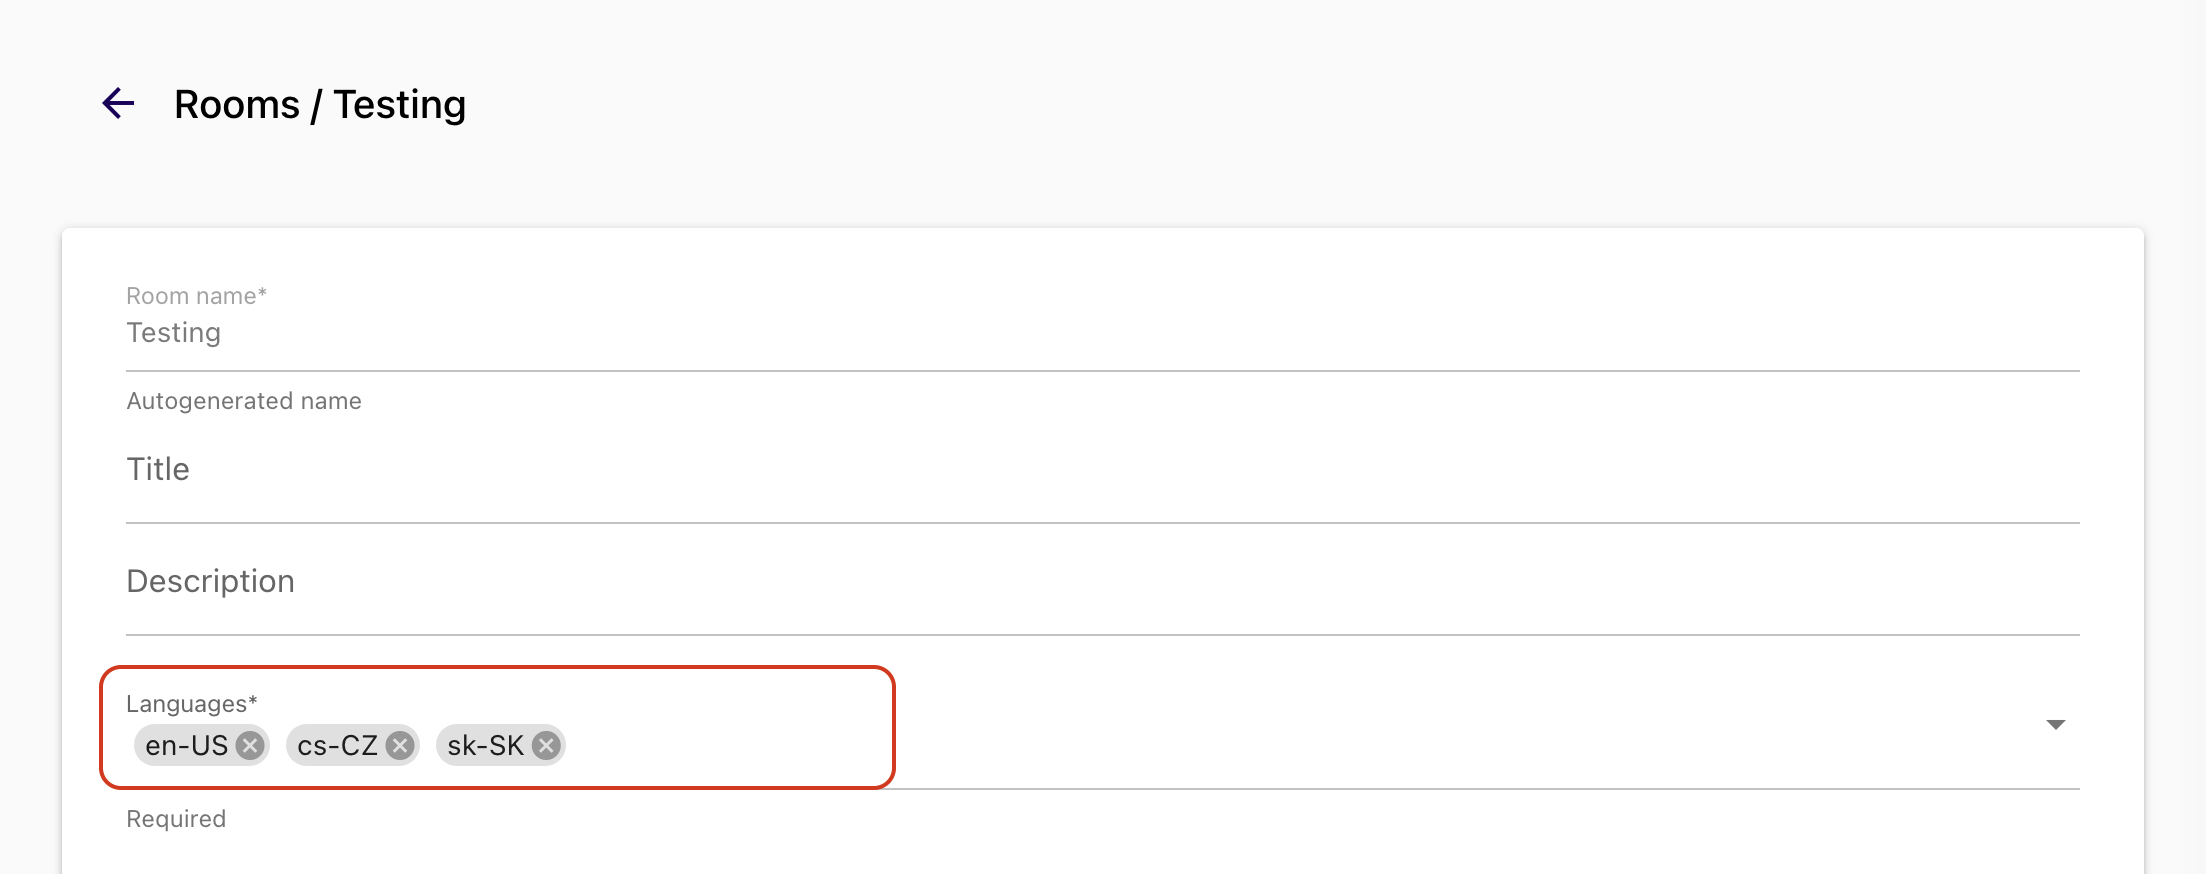
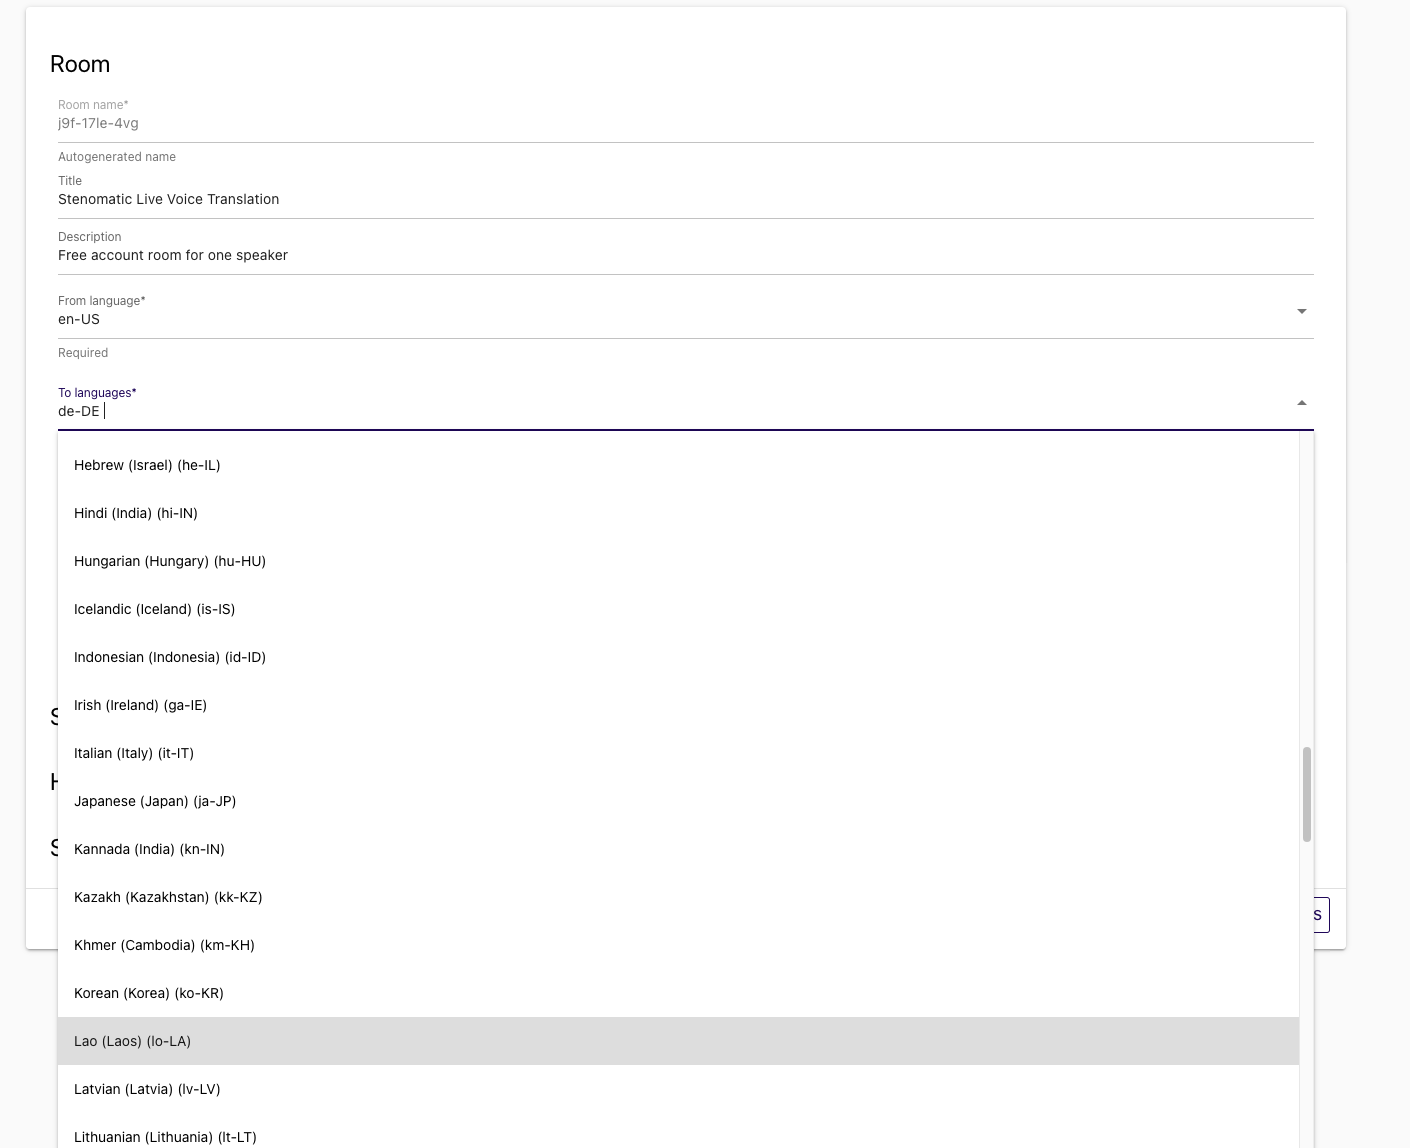
In the room settings, select languages you want to translate From and To by clicking on the selection. You can later select any of these languages as a speaker or a participant in a room.
4.Choose languages you want to add from the selection.
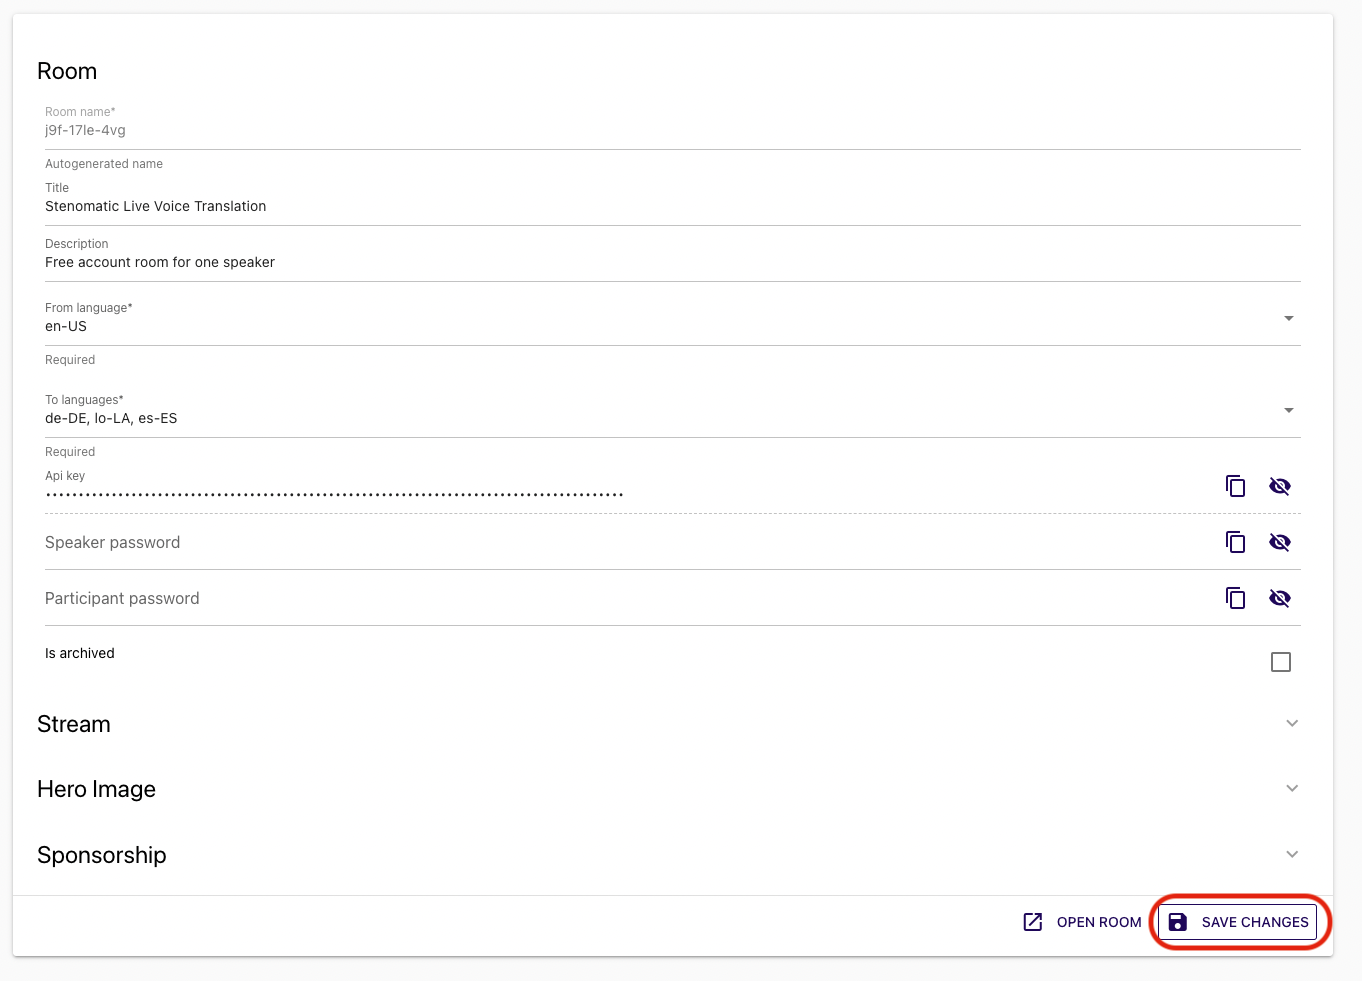
Click on ‘Save Changes’ in order to update room settings.
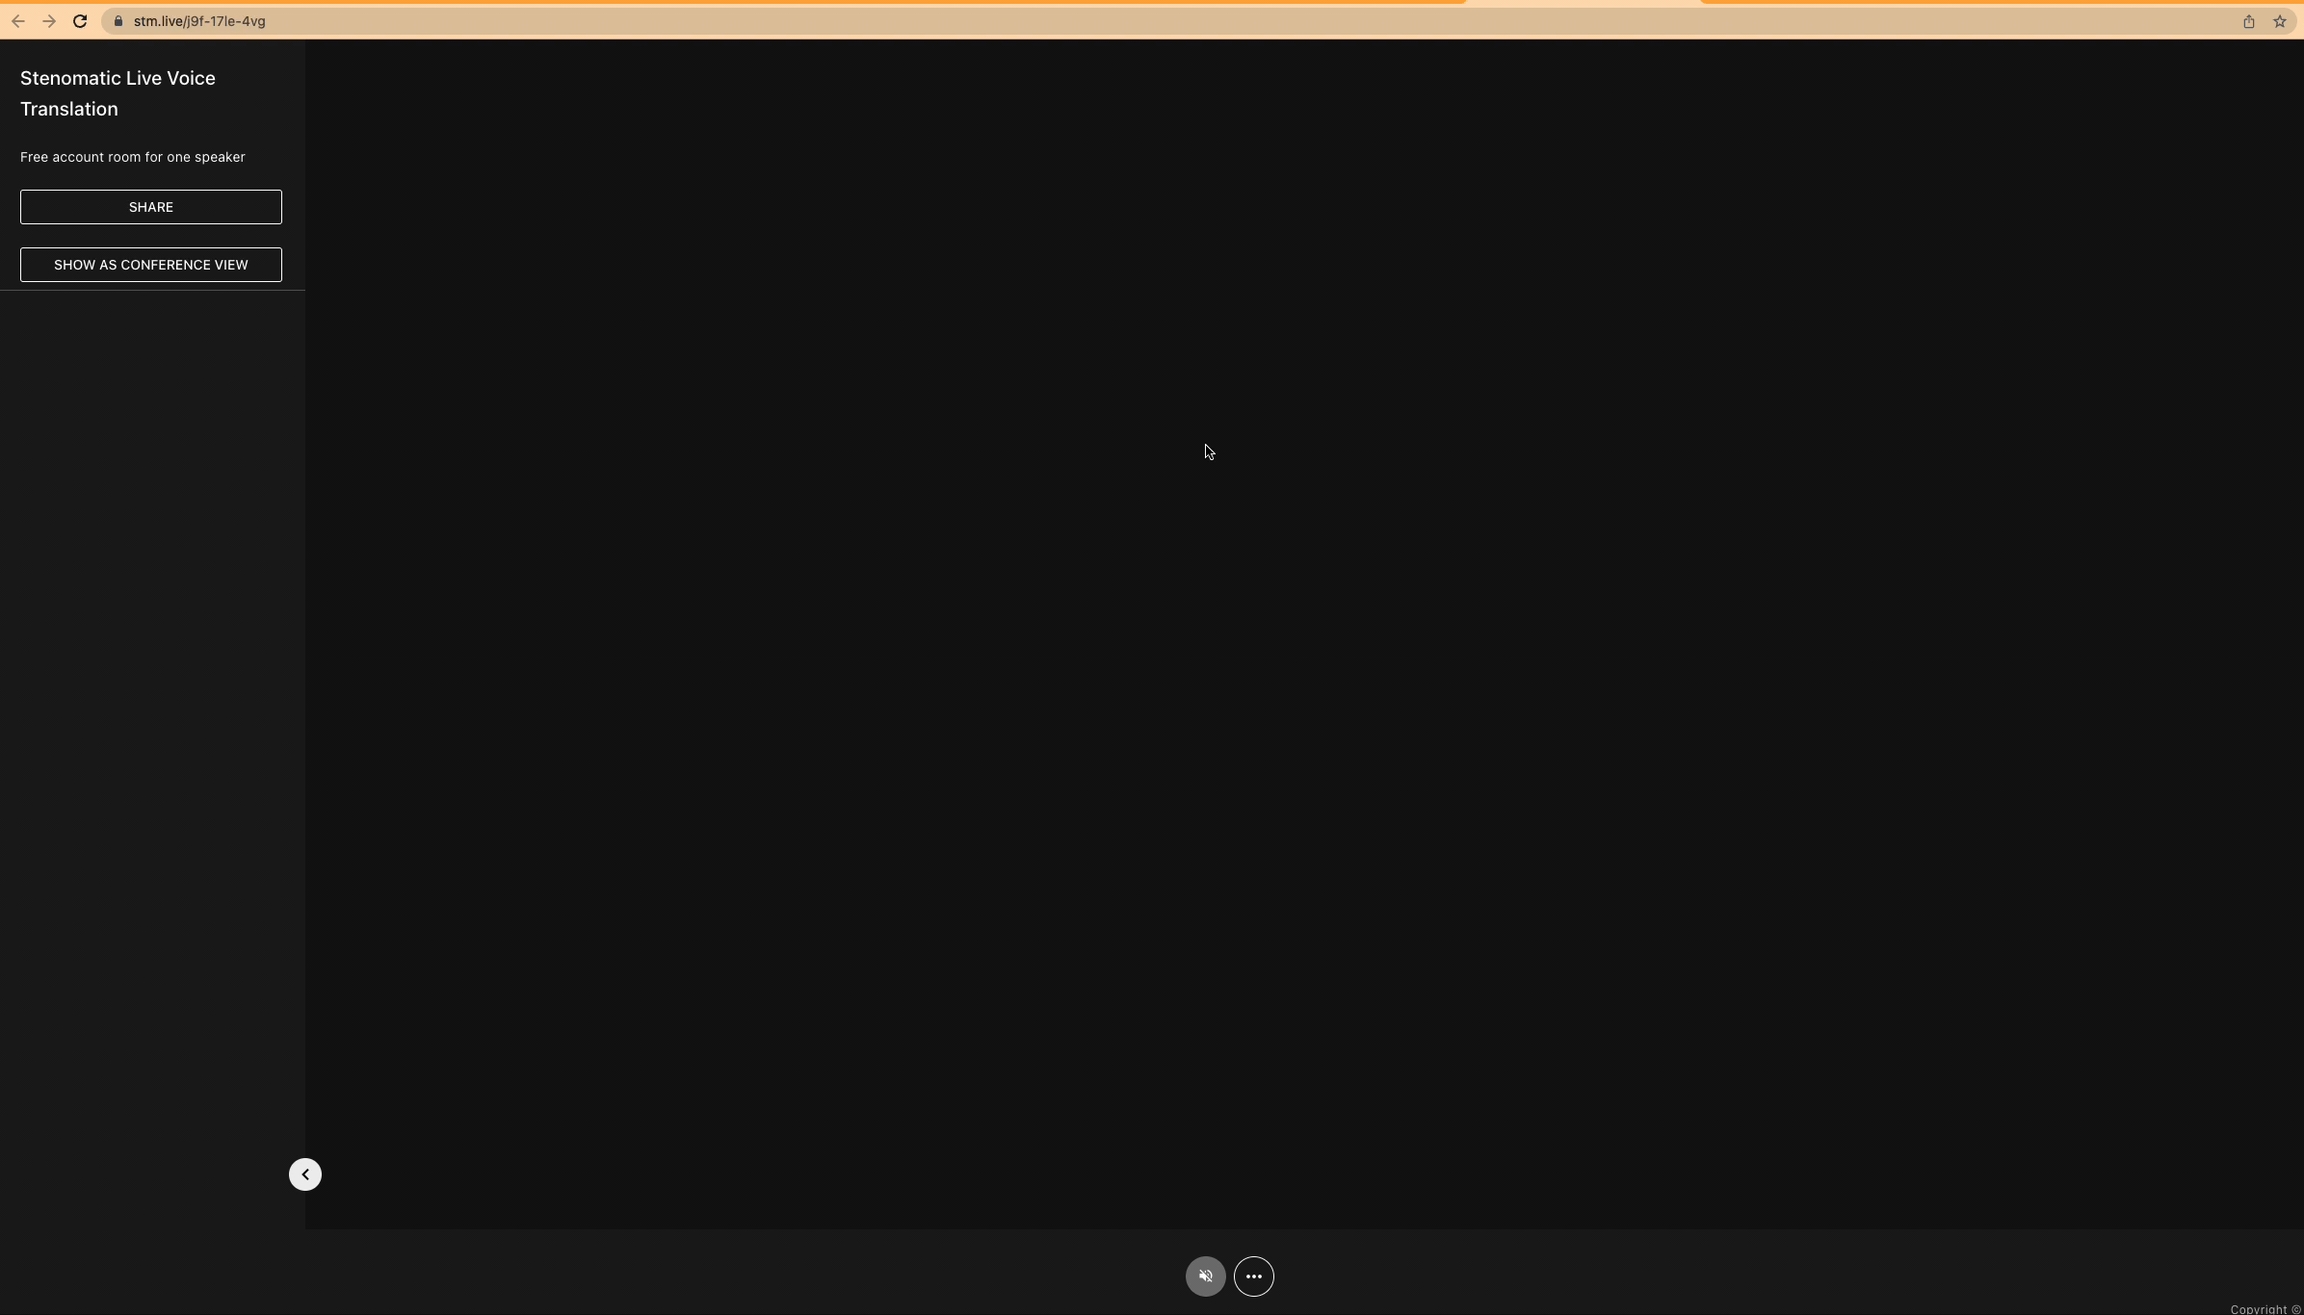
Now click on ‘Open room’ to access the room.
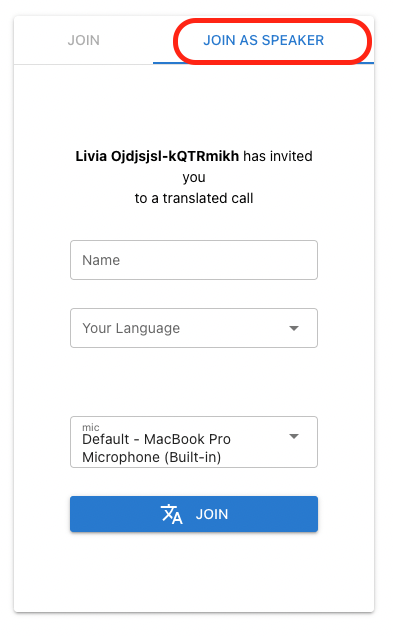
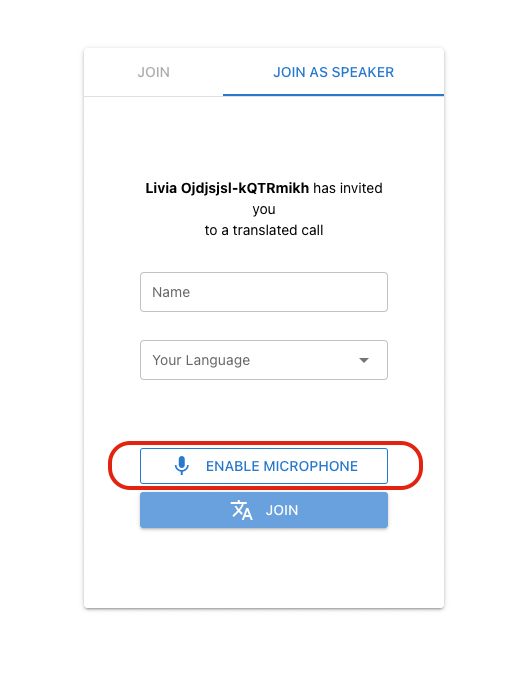
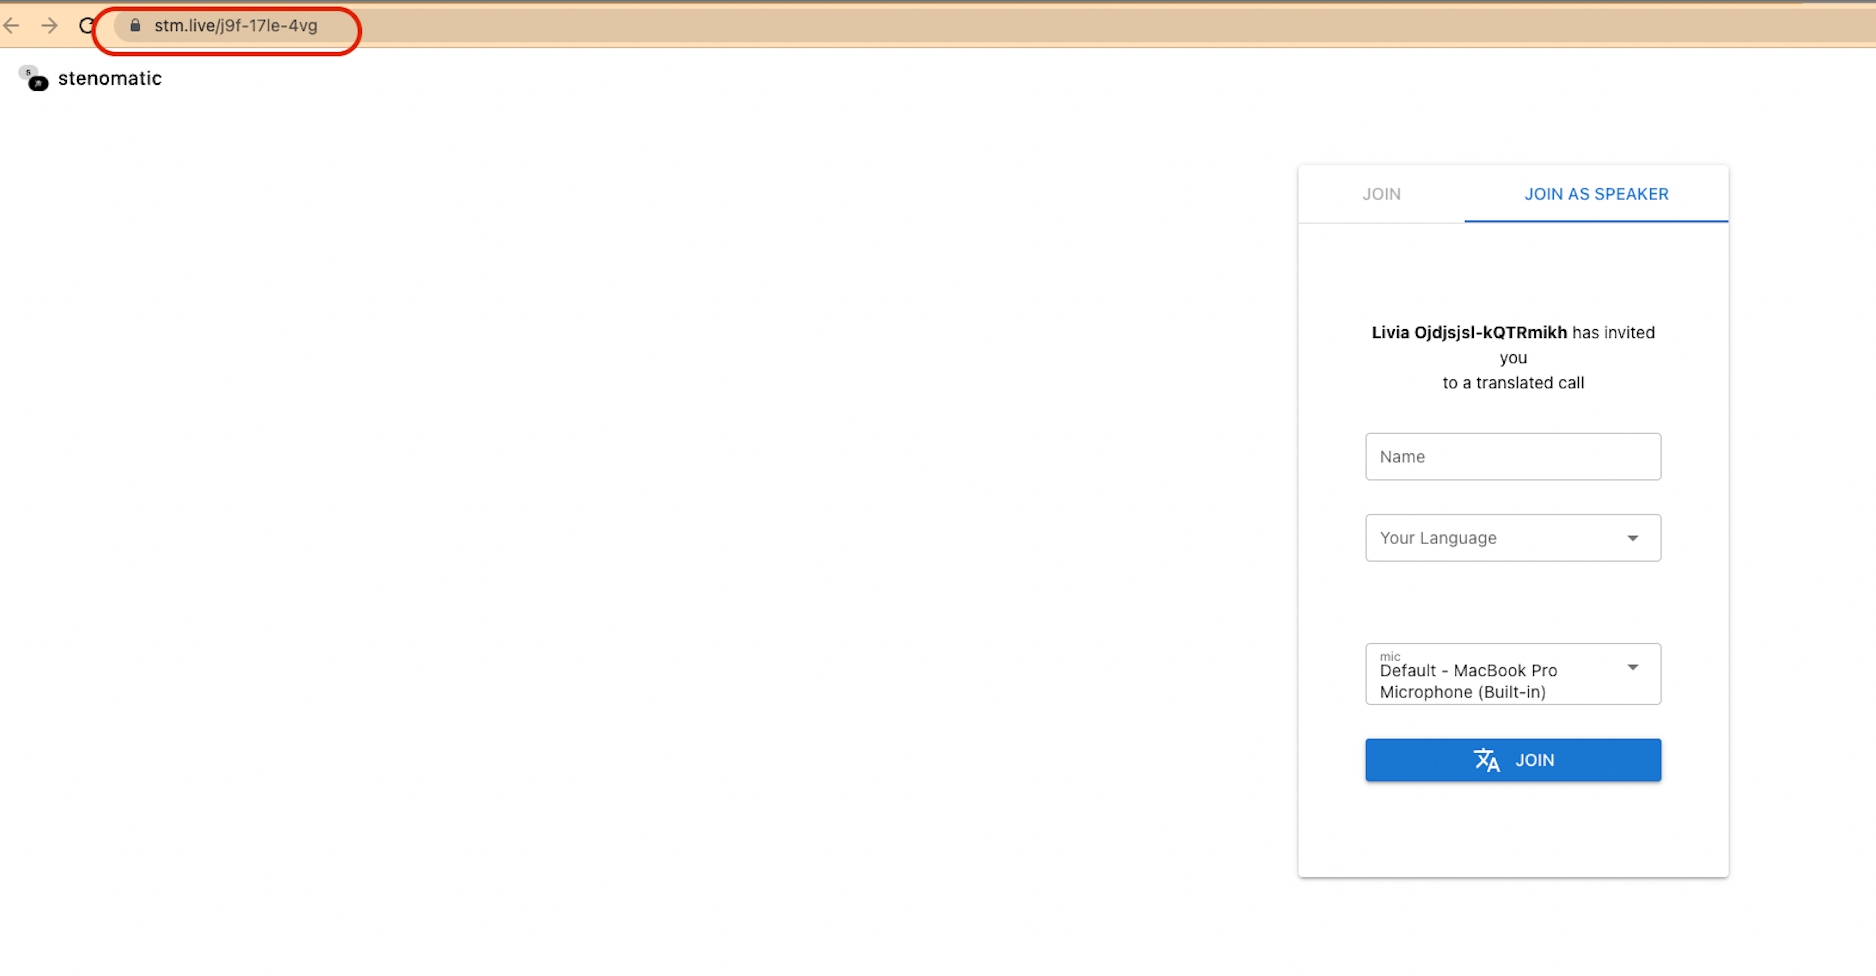
Select “JOIN AS SPEAKER” if you’re a speaker and want your voice to be translated. If you’re joining as a participant to read / listen to translated content without actively participating, click on “JOIN”.
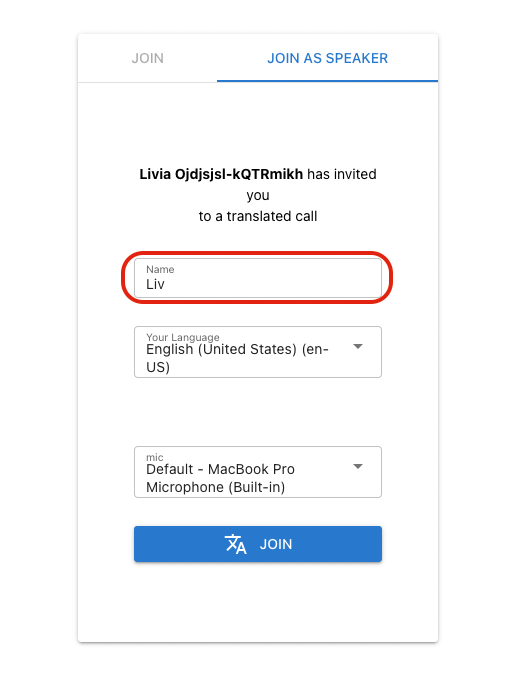
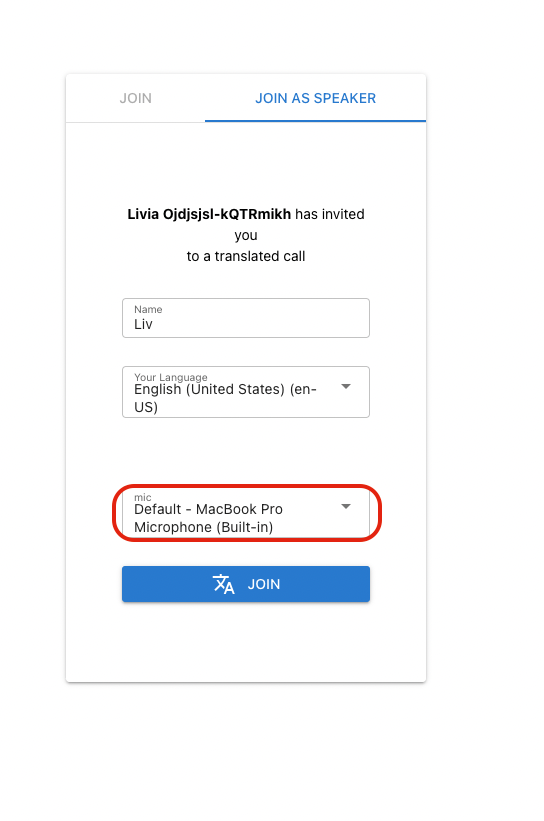
Type your name.
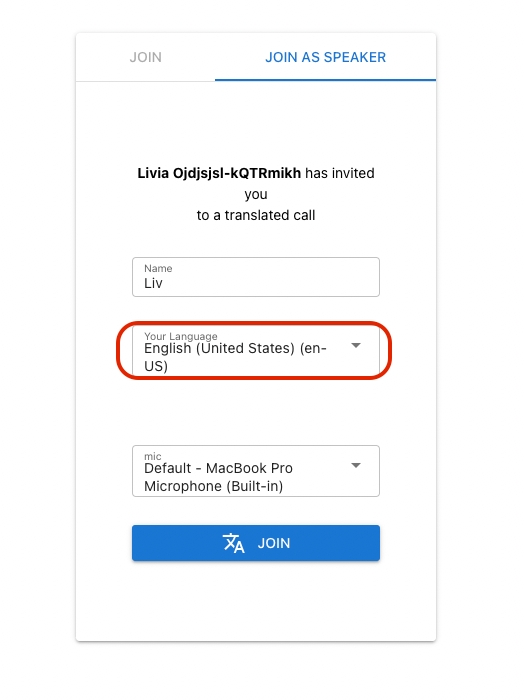
Choose language you’re going to speak during the meeting
Enable Microphone
Make sure to select correct microphone.
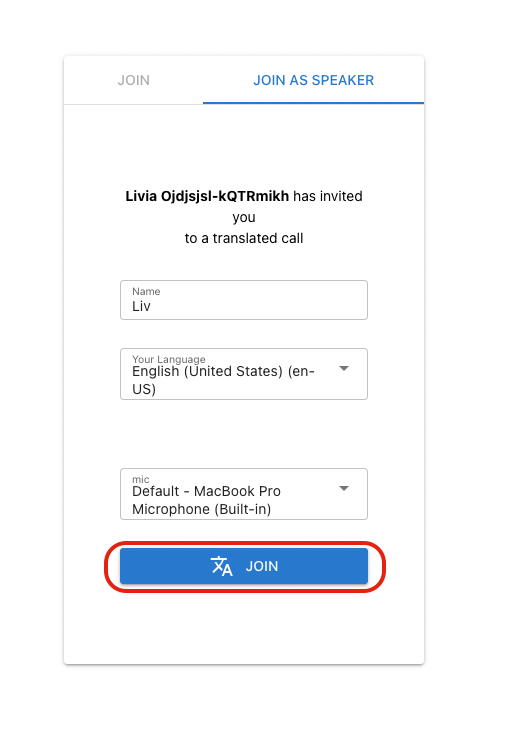
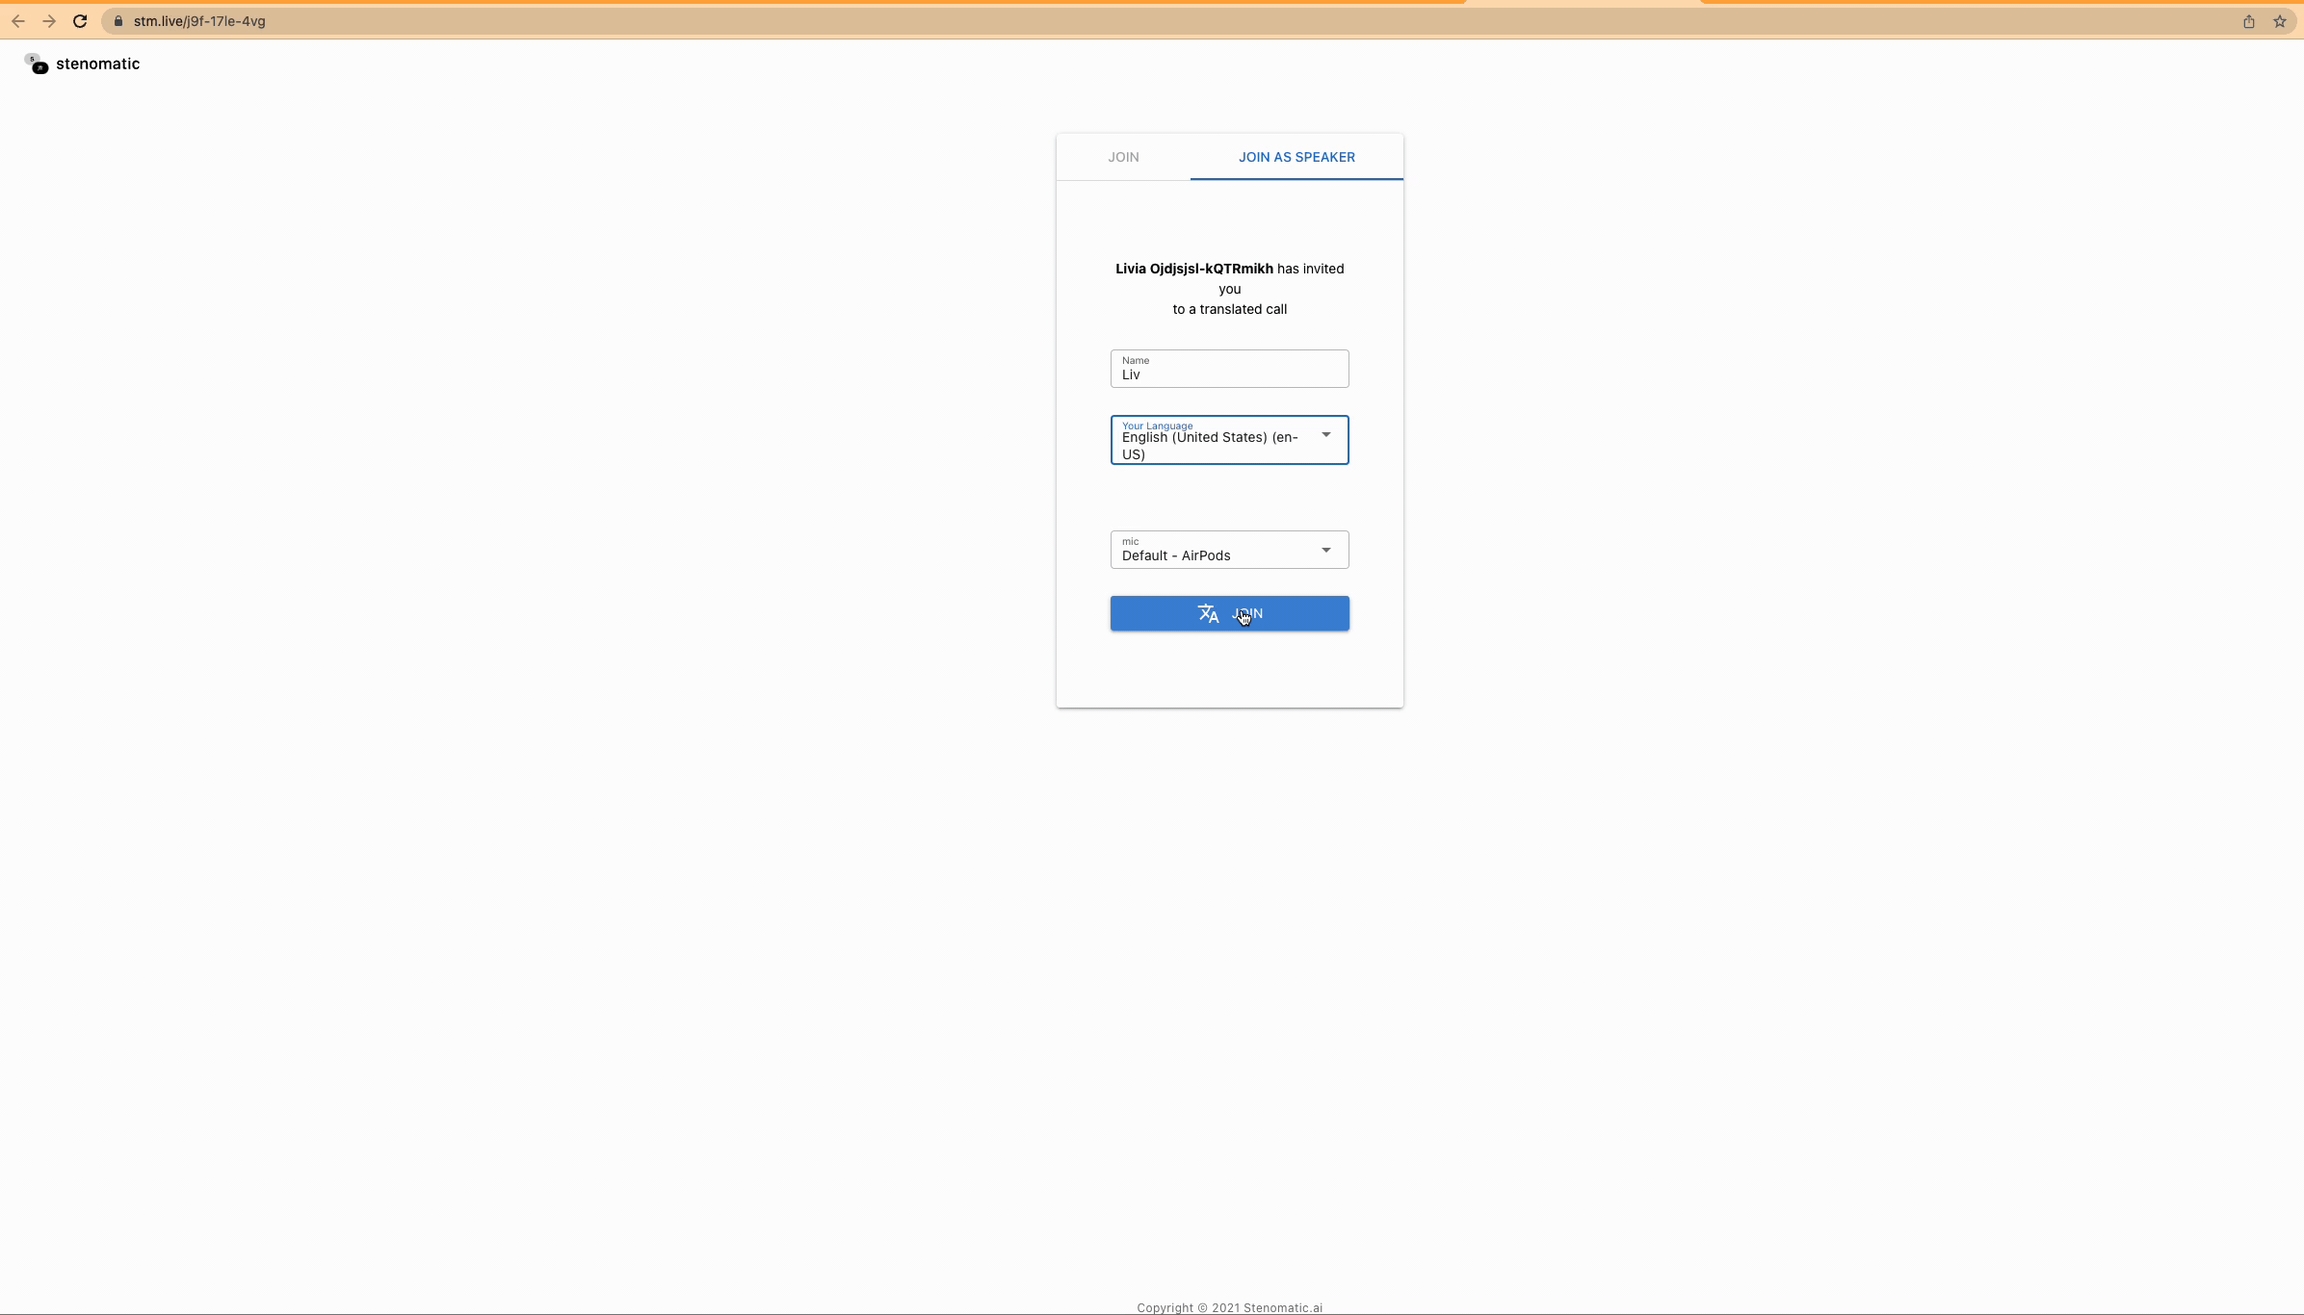
Click JOIN.
You can now speak into your microphone and words will appear in your selected language.
Other participants or speakers joining the room with a different language will see your speech translated in real-time.
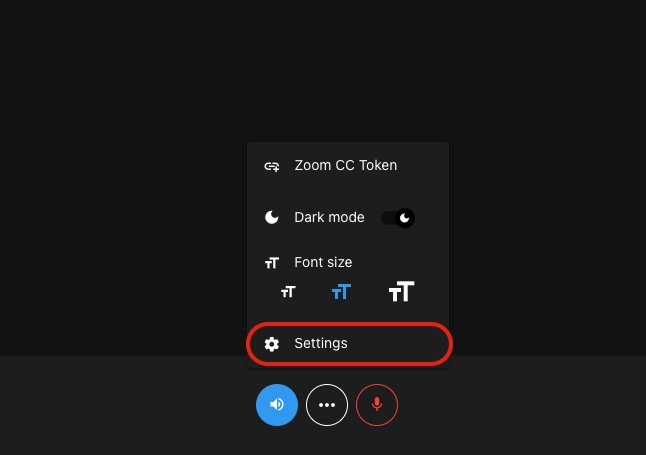
To hear the translations, click on the Listening button (Speaker icon)
To mute yourself, click on the mute button. This also stops your account from being charged usage.
Click on Settings (three dots).
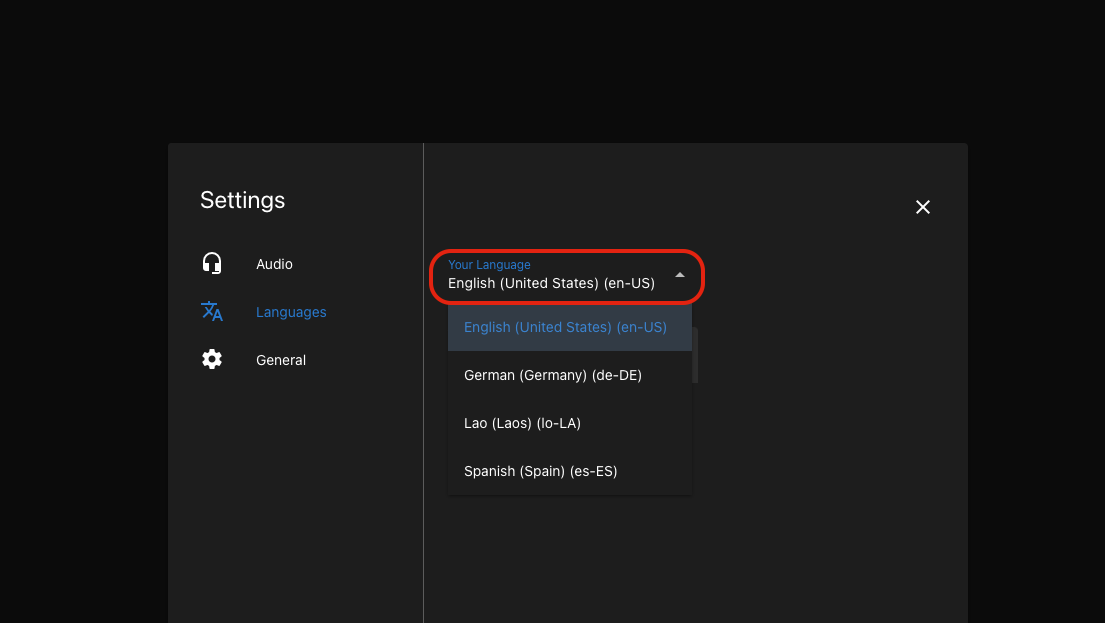
To change language, click on Languages
For other people to join a translated meeting, simply share the unique room URL with them.
Last updated